How to install the indoor pan tilt indoor cam? If you want to do it in one step, you first have to pick a high place, such as the corner of the living room ceiling, so as to drain its potential for 360-degree viewing angle and minimize the blind area. When it comes to physical installation, directly use an electric drill and expansion screws to lock the bracket in the package to the ceiling or wall. After the base is fixed, screw the camera up and plug in the power supply. Then, it is also the easiest step for beginners to overturn-connect your mobile phone to a 2.4GHz Wi-Fi, never connect to 5G, most smart devices only recognize 2.4G. Finally, open the corresponding APP and take the lens to scan a two-dimensional code to complete the pairing. By the way, if you are hanging upside down on the ceiling, don’t forget to turn on the “screen flip” function in the settings.
If you ‘ve just taken apart a newly bought pan-tilt camera, you’re probably wondering how to fiddle with it to get the most out of it. Whether you are buying a reliable brand like BIT-CCTV or other standard models on the market, it is very important to follow the correct routine. Now that we have briefly summarized the above, let’s directly disassemble the specific steps and talk about how to fix this thing perfectly when it is installed for the first time.
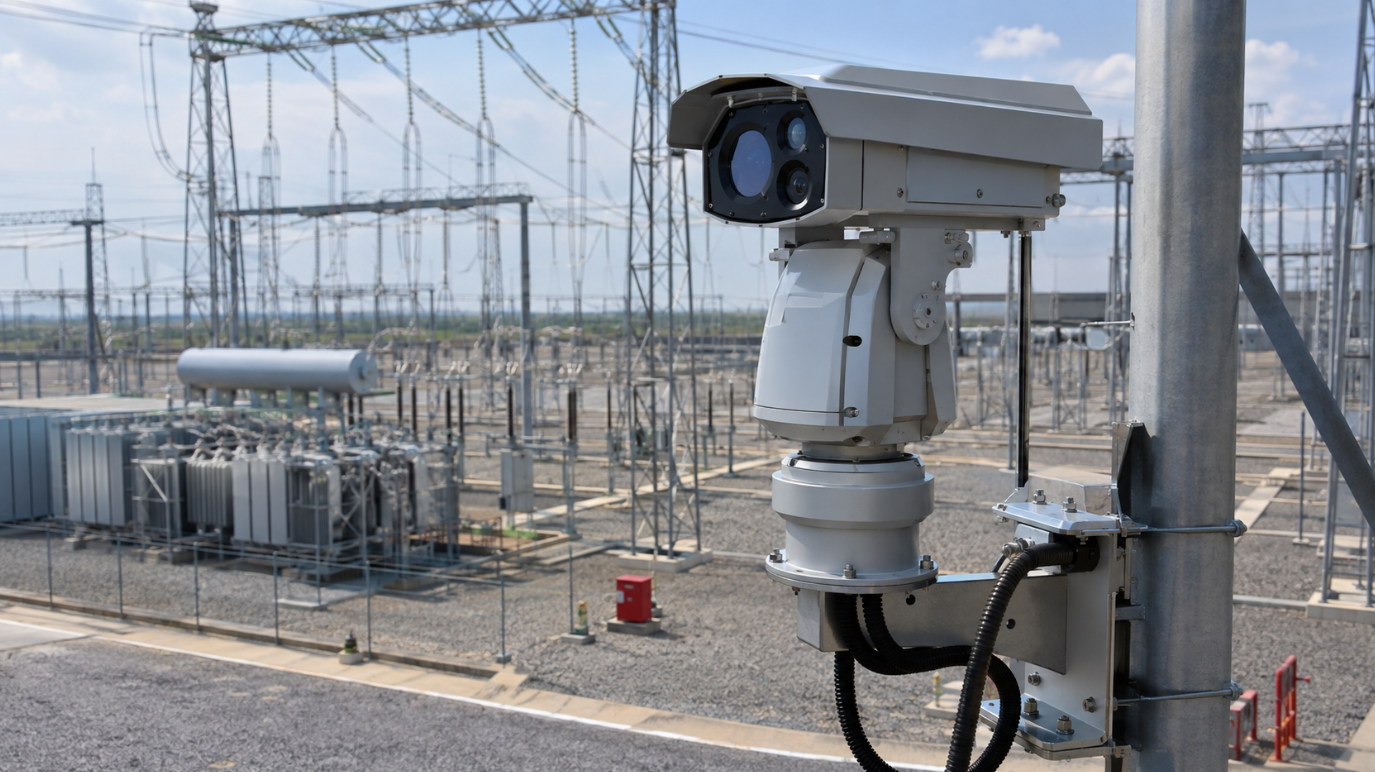
Step 1: Choose A High Viewpoint
The main premise of installing this kind of camera is to find the right position. Because this machine can rotate horizontally and vertically, I have seen too many people buy it back and put it directly on the low coffee table, which is simply wasting its hardware potential.
To really bring out its 360-degree view, you have to put it up high. Generally speaking, the corner of the living room near the ceiling is the best choice. After the machine is raised, the lens can easily overlook the whole room, so that the pan-tilt motor can really sweep between the walls. This strategic occupation can greatly eliminate blind spots and ensure that there are no dead spots in the house.
Step 2: Hard Fitting
After watching the corner, it’s time to do it. Machines with solid workmanship on the market, such as those provided by BIT-CCTV, will basically come standard with a special mounting base plate in the packaging box.
Punch Plan: If you plan to install it on the ceiling or hard wall, directly drill the gravity hole. Tuck in the matching expansion screws and screw the bracket firmly on the wall. I recommend this method most, because the internal motor of the pan-tilt camera will rotate frequently and the chassis must be stable enough.
Punch-free scheme: friends who rent houses cannot make ground on the wall. Then stick an industrial-grade heavy-duty double-sided tape on the back of the bracket and stick it directly on a clean and flat surface.
When the base is completely fixed, align it with the slot at the bottom of the machine and tighten it with a click. Finally, run the line along the wall and find a nearby socket to power on.
Step 3: Connect The 2.4GHz Wi-Fi
After the machine is powered on, the next key operation is on your mobile phone. Listen, before you click on the monitoring app, you must make sure that your phone is connected to 2.4GHz Wi-Fi-not 5G.
Why do I have to emphasize this? Because the vast majority of smart cameras are designed to support only the 2.4GHz band from the factory, because its through-the-wall and through-the-floor capabilities are several blocks away from 5G, and the security equipment is looking for a stable connection. If your mobile phone is connected to the router’s 5G signal at this time, the pairing will fail 100%. Therefore, switch back to the Wi-Fi settings of the mobile phone and honestly choose the 2.4G network, and we can enter the last step.
Step 4: APP Pairing And The Crucial “Picture Flip”
It’s finally time to put the machine on line. Open the corresponding mobile phone APP, and register one if there is no account number. Following the screen prompts to add new devices, you will usually enter the code scanning pairing process. APP will generate a unique two-dimensional code on your mobile phone screen. Take your mobile phone and shake it about a few inches away from the camera lens. If you hear the “drop” confirmation sound, you will be connected.
Don’t rush to turn off the interface at the moment, there is another detail that is easily missed: if you chose ceiling inversion in front of you, be sure to turn on the “picture flip” function in the settings. The reason is very simple. The machine is hung upside down on the top, and the real-time picture sent back must be facing down. Enter the video settings, click the “picture flip” switch, and the picture will come right away. Even if such a perfect indoor pan-tilt camera is completely installed!
Author:Alex Turner
I know firsthand how frustrating a tricky setup can be, so my mission here is to strip away the confusing tech jargon and give you foolproof, step-by-step DIY guides. If there is a pitfall in smart home installation—like connecting to the wrong Wi-Fi or picking a bad camera angle—I’ve probably already fallen into it, which means you won’t have to. When I’m not drilling holes or testing new gear, I’m usually finding new ways to automate my living room.



 English
 日本語
日本語 한국어
한국어 français
 Deutsch
 Español
 italiano
 русский
 português
 العربية
 tiếng việt
 ไทย
ไทย čeština
 dansk
dansk Svenska